Working with Github
mei-friend supports extended github integration for selecting repository, branch, and file from your GitHub profile, committing changes back to GitHub, and allows forking of others’ public repositories.
GitHub authentication
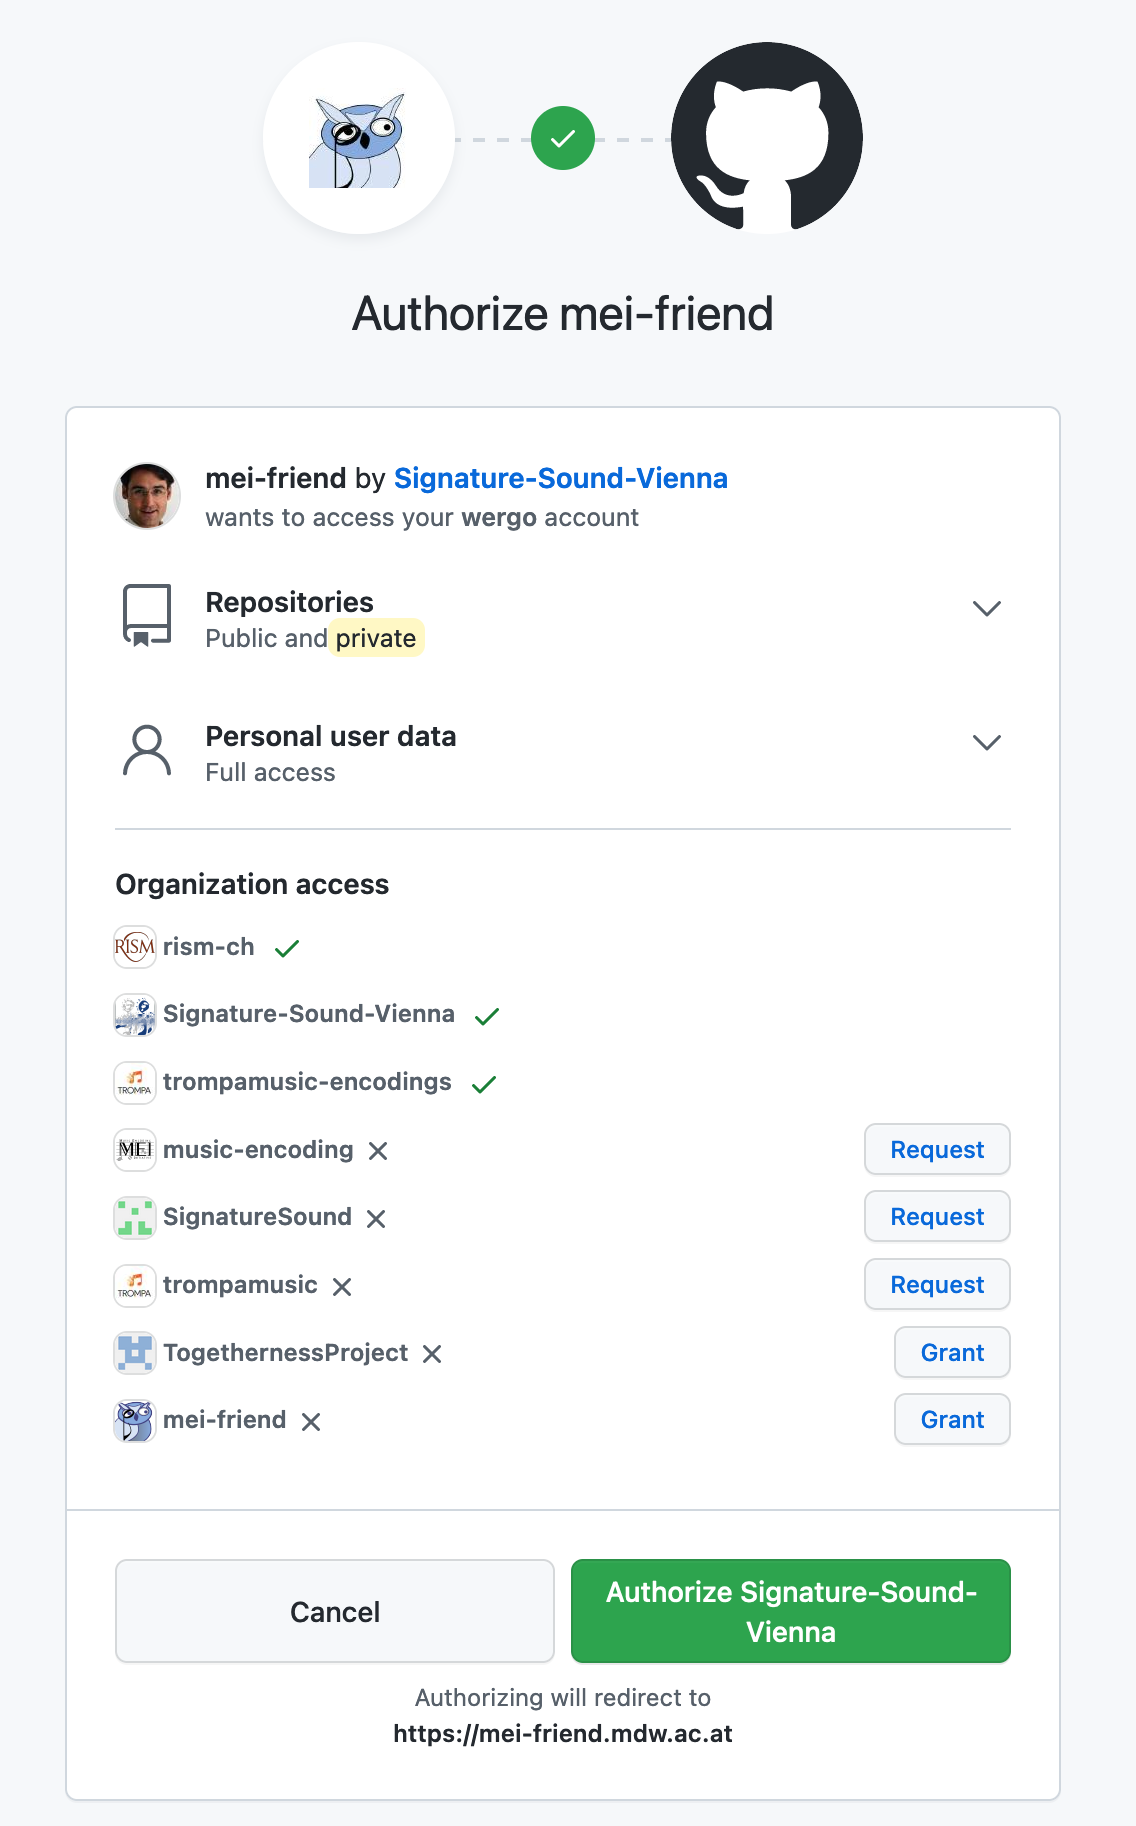
Authorizing mei-friend for your account
The first time you use mei-friend with your GitHub account, you need to allow mei-friend to access the data from your GitHub profile. This has to be done only once and you may revoke this authorization in your GitHub account (github.org/yourprofile Settings -> Applications). Accessing your data is now possible after you have signed in with your GitHub account.
Adding a new organisation
If you have already authorized mei-friend for your GitHub organisations, but you want to add a new organisation to your mei-friend list, you should follow these steps:
Go to your gitHub account, open the settings panel of your profile, and go to applications further down in the menu list. Under the tab Authorized OAuth Apps you have the opportunity to click on the mei-friend entry and grant new repos access.
Sign in
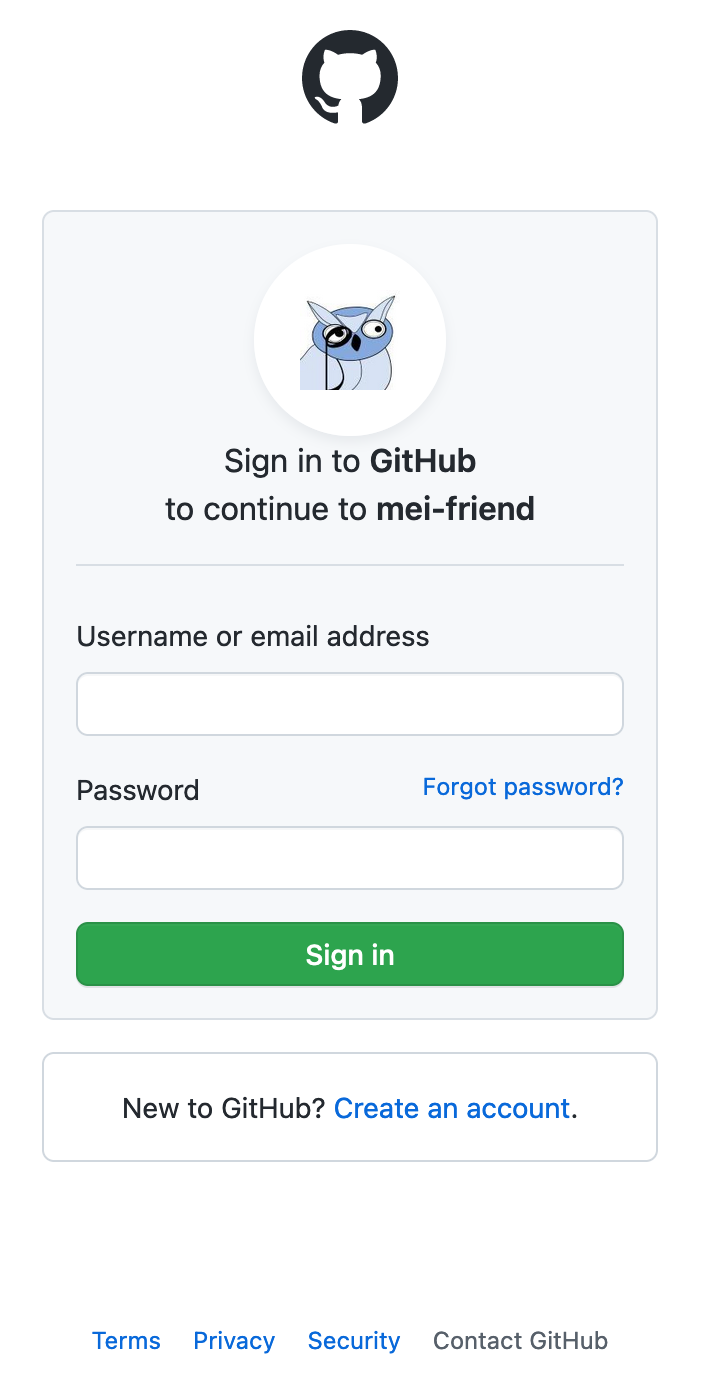
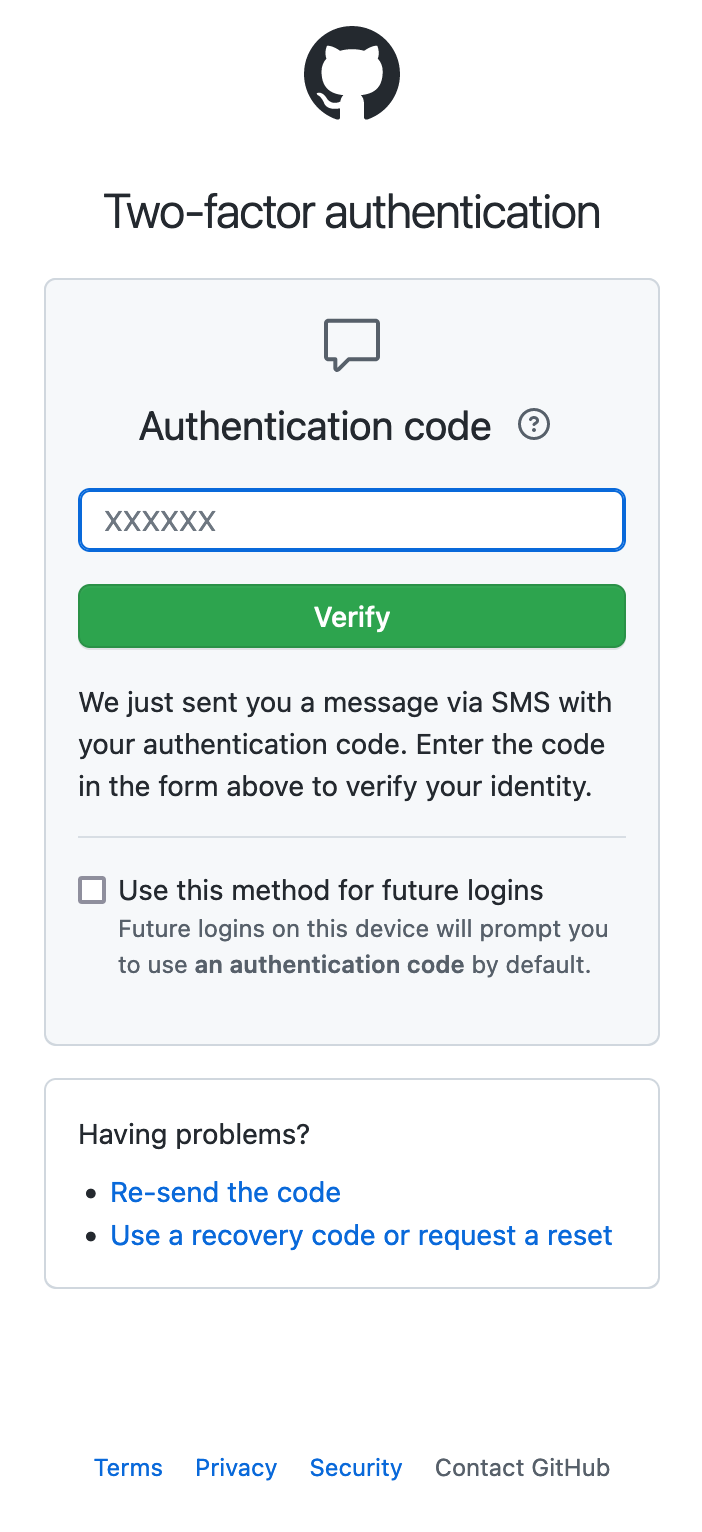
After having authorized mei-friend, you may then sign in to GitHub with your username and password (Fig. 2 left-hand side). Depending on your security level of GitHub you may be asked for a two-factor authentication code (such as shown in Fig. 2 right-hand side).
Upon successful authentication, your name will appear in the GitHub menu of mei-friend next to the GitHub icon (see Fig. 3 with Werner Goebl signed in).
Sign out
On a private machine, you may just stay signed in to GitHub. However, on shared browsers or public machines you are strongly advised to sign off from GitHub, using the log out item of mei-friend’s GitHub menu (Fig. 3).

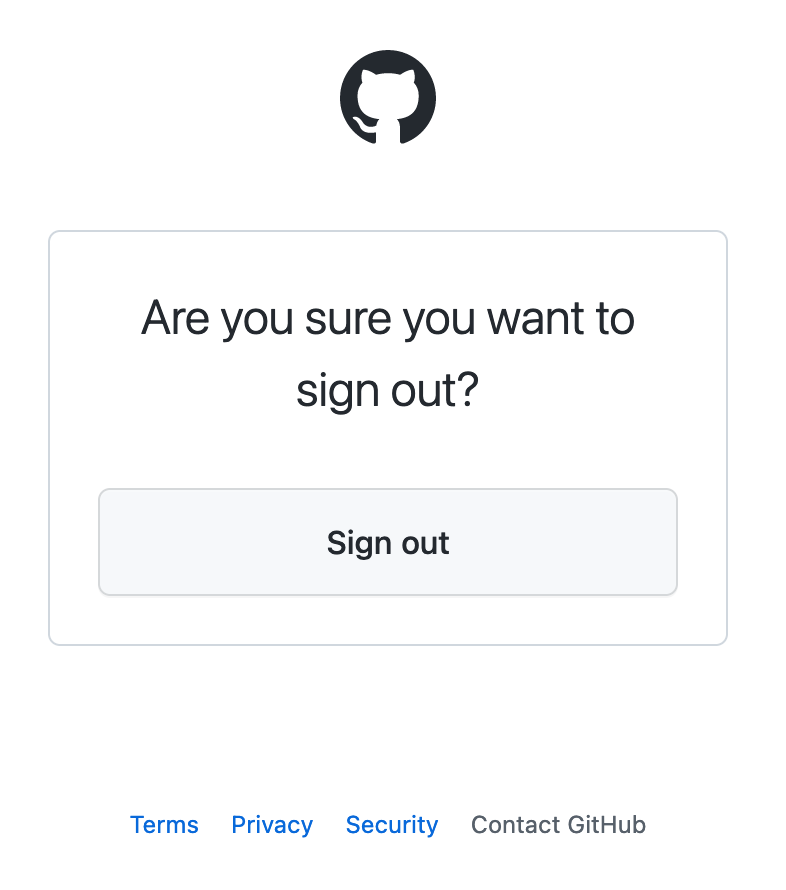
You will be then warned that logging out from mei-friend will not sign you off from the GitHub website (Fig. 4).

To completely sign off from GitHub, please confirm the following sign out page from GitHub (Fig. 5).
Loading files from GitHub
After successful login, your profile name will appear next to the GitHub cat logo. By clicking on your name, you will see a list of repositories of your GitHub profile. The GitHub menu will guide you through the repository structure, all available branches and files within a repository. If a repository contains only a single branch (such as “main”) branch selection will be skipped and files listed for selection. Each update might take some loading time during which the GitHub cat icon will spin (i.e., rotate clockwise). After having opened a file, the profile name, repository name and the file name will be shown in the file name status display. You may now work on your file and make changes.
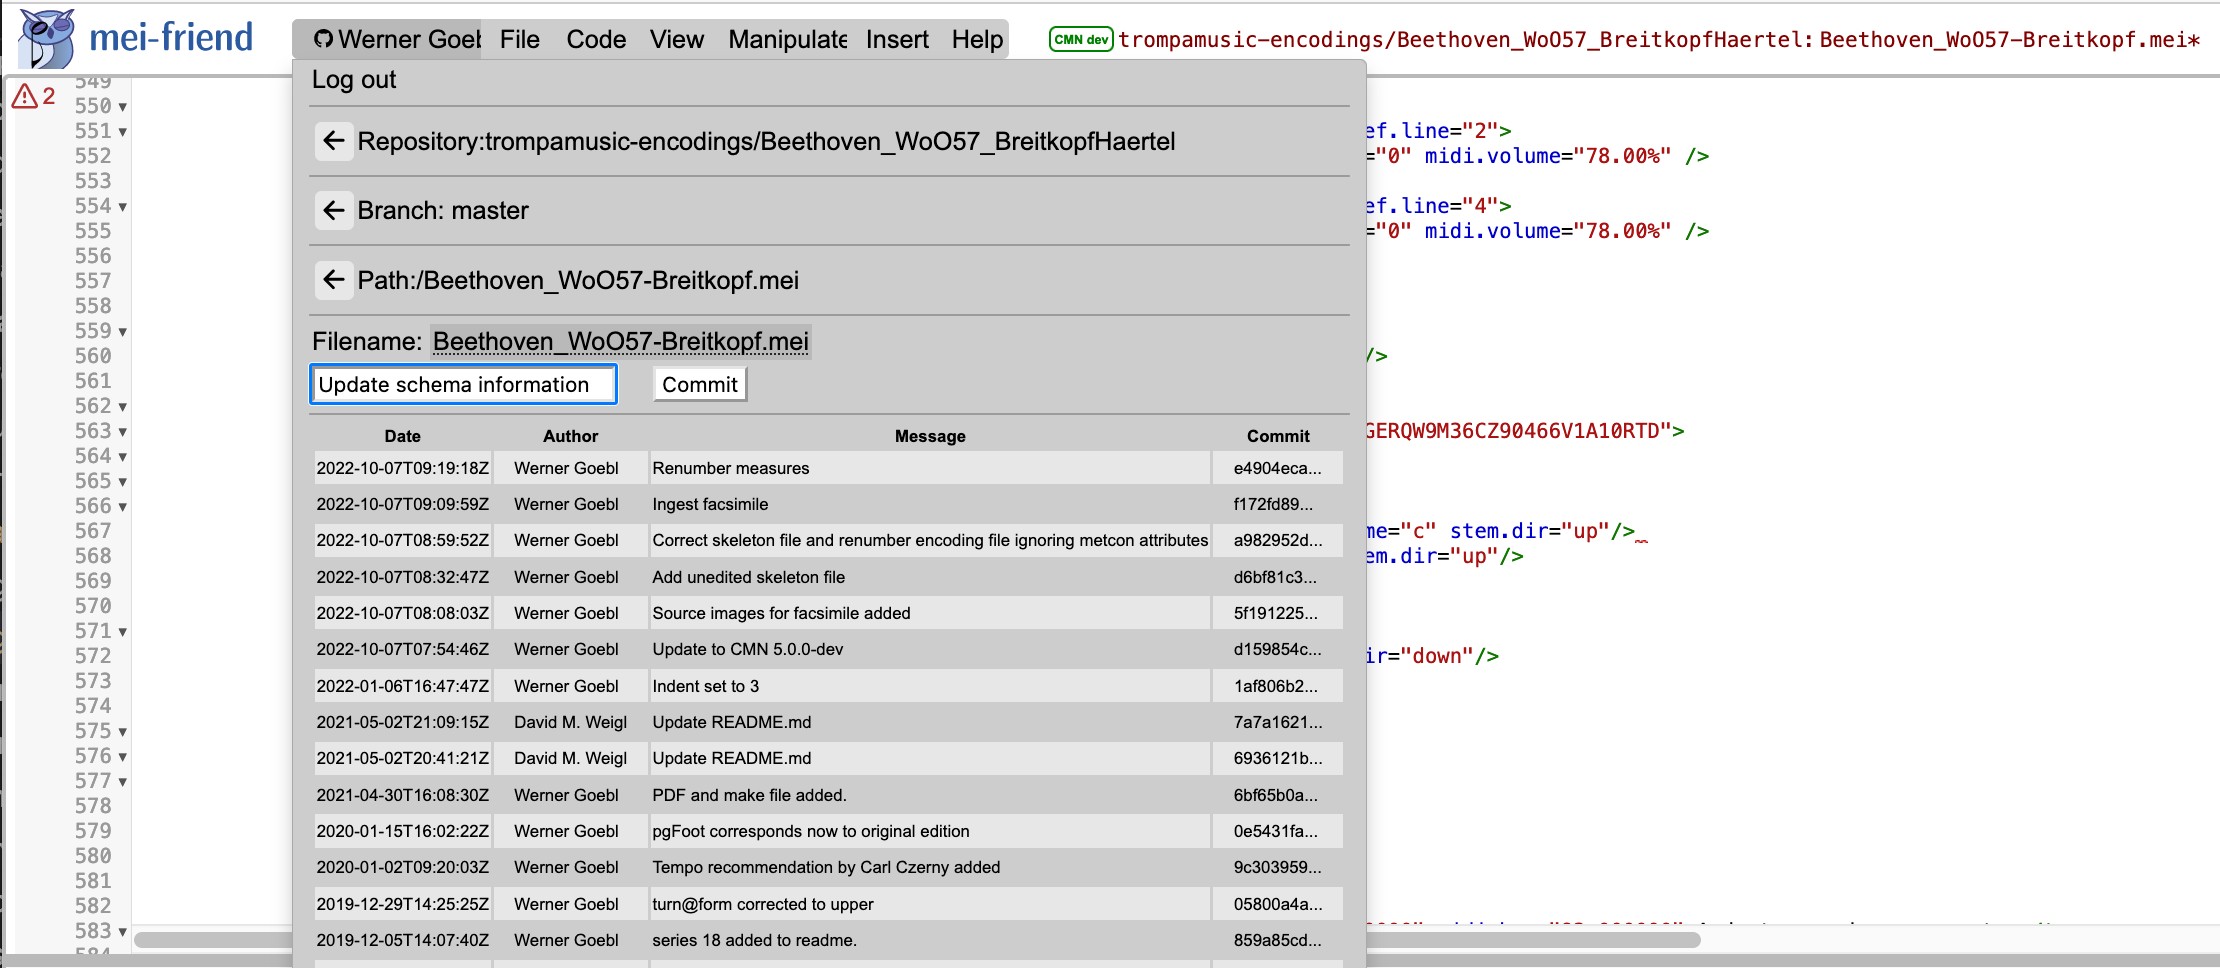
The GitHub menu also provides navigation buttons to return to the previous level in the GitHub structure (see Fig. 6 below). Each click requires negotiation with the GitHub API indicated through a spinning GitHub icon.
Committing changes
After having accomplished a meaningful portion of editing work to your encoding, you may now commit these changes back to your GitHub file by entering a commit message in the GitHub menu and confirming the commit by pressing the commit button (see Fig. 6). The rotating GitHub icon indicates the commit being negotiated with the GitHub API. After this has been finished, the commit table at the bottom of the GitHub menu will contain the new commit just made with date, author, commit message, and commit hash. The commit hash itself is clickable and will guide you straight to that commit on the GitHub website for future interaction. Note that the commit message field will only be editable after an edit has been made to the encoding (indicated by red color in the file name marked additionally with an asterisk).
Forking a repository
Forking someone else’s repository is made easy with mei-friend: just click the (second) menu item in the GitHub menu to enter the organisation and repository to be forked, as well as the target profile. Once the “fork repository” button is pressed, you will be guided to the forked repo in the profile you selected before (for an animated GIF see Fig 7 below).
Forking can be initiated as a URL parameter, for more information please see URL parameters.
Automation with GitHub Actions
For encoding projects with project-specific automation needs, mei-friend can be set up to use custom GitHub Actions workflows on your MEI files — see Automation with GitHub Actions to learn how.